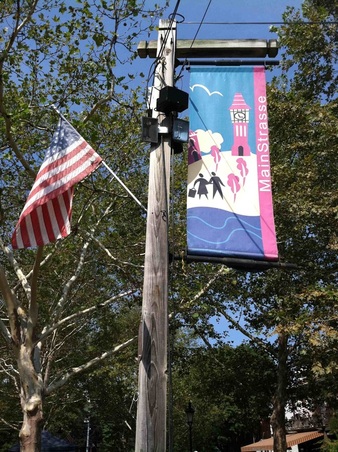
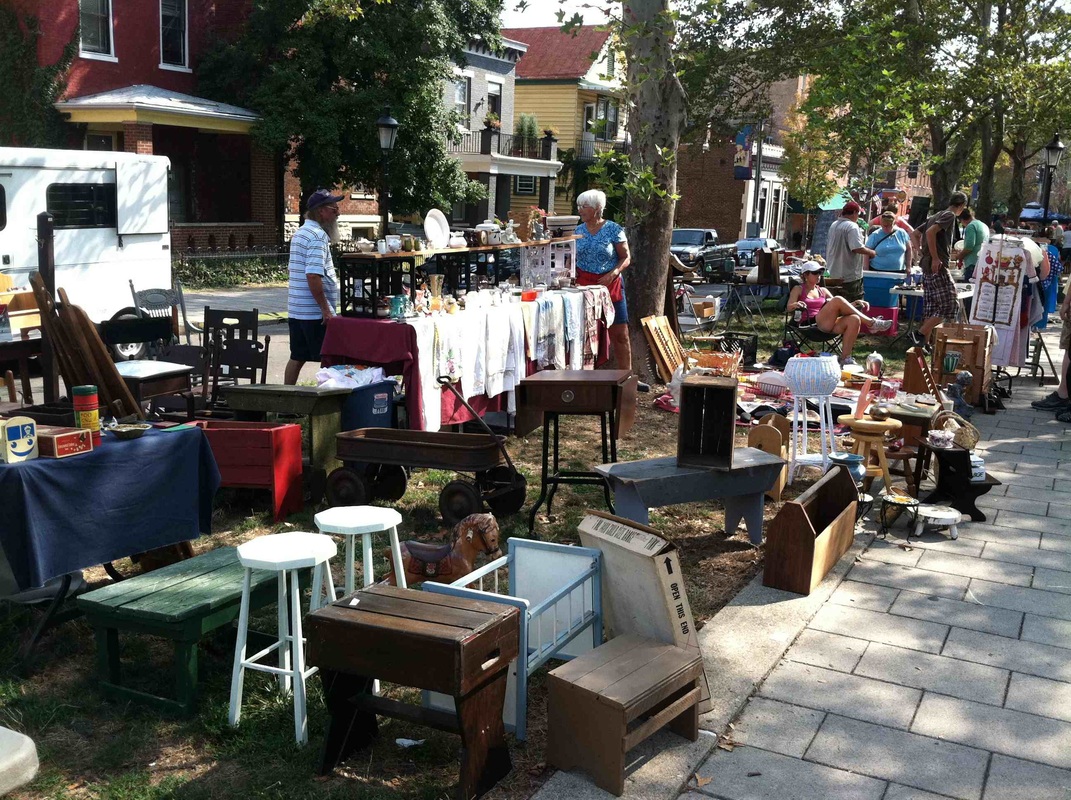
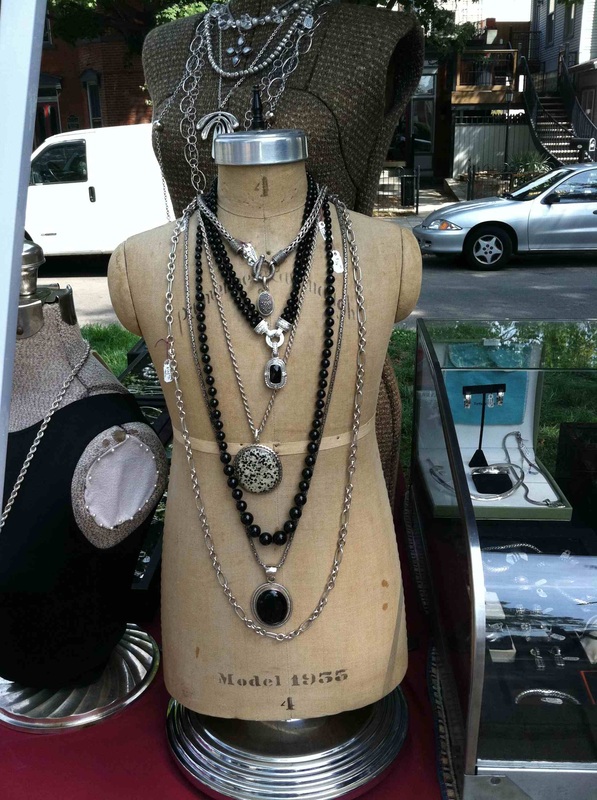
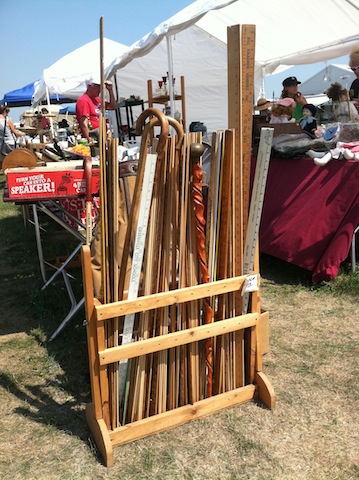
We have a great circuit of antique shows here in Cincinnati (old river towns have a lot of cool people with a lot of cool junk). I’ve done Burlington (Kentucky) and Lawrenceburg (Indiana) several times. But I hadn’t been down to Covington (Kentucky) to the 4th Sunday Antique Show on MainStrasse for quite a few years. I like this show because it’s small. There are just a few dozen vendors, and you can walk it pretty well in an hour or so. And it’s such a nice, urban backdrop too.
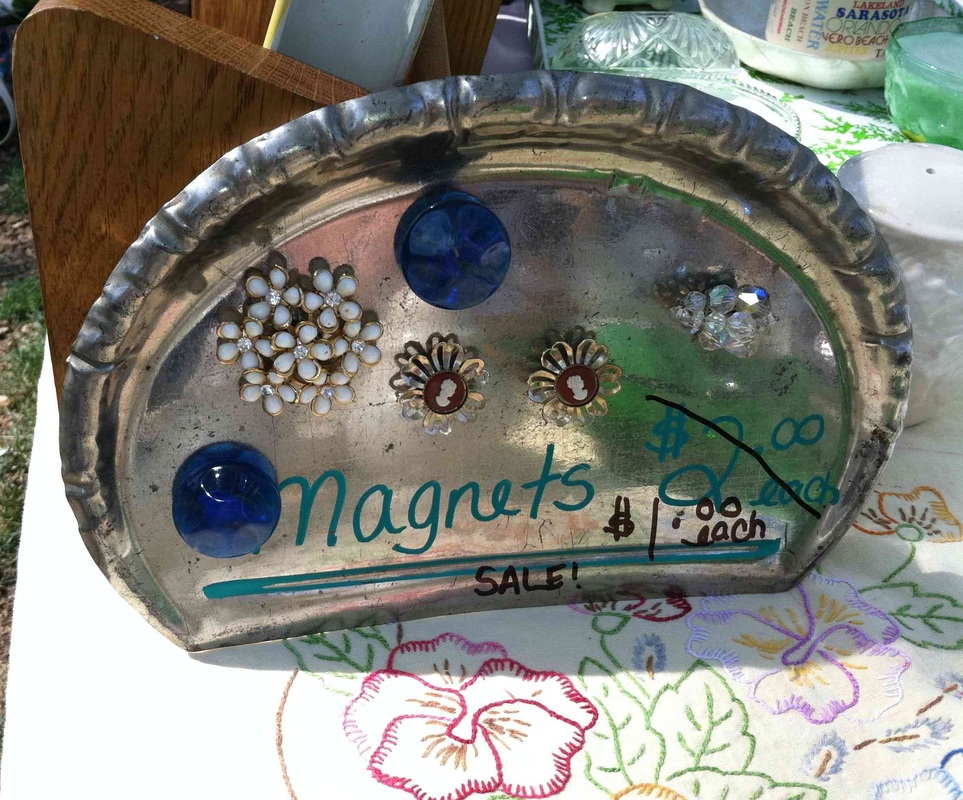
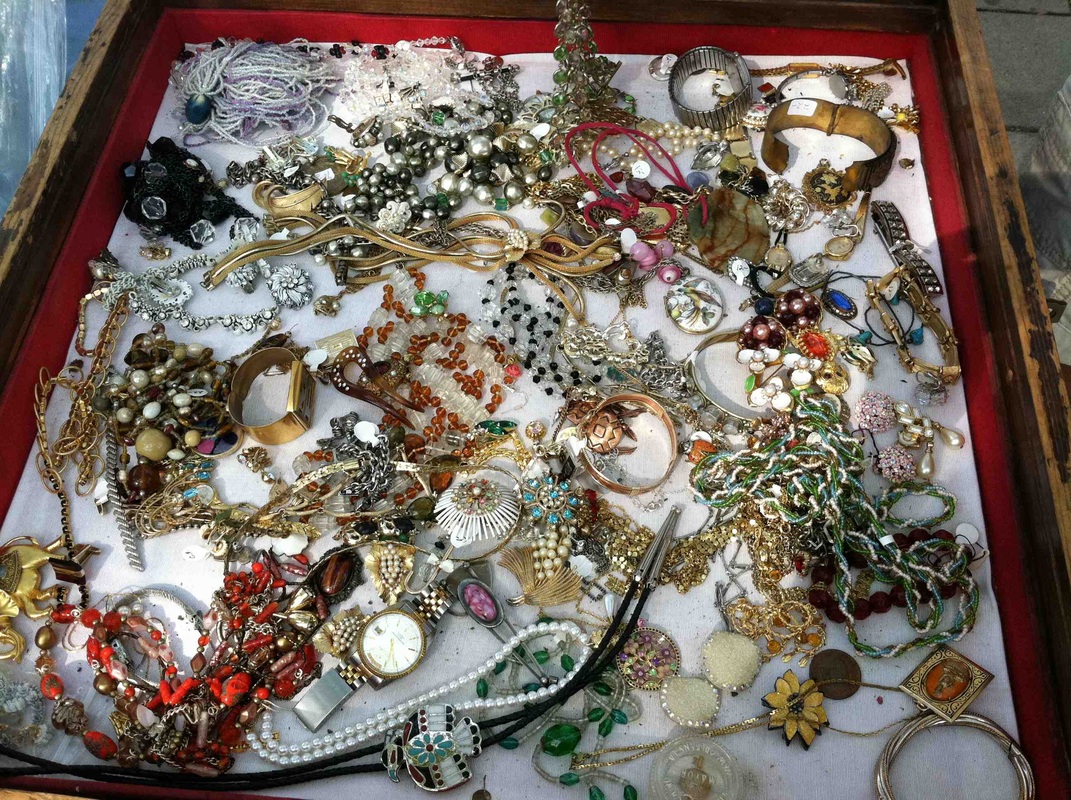
I didn’t spend a ton of money, but I found some really cool stuff. My favorite was Secondhand Fancy’s booth. Okay, not just because I enjoyed talking with her about Sew Retro! (Also, her Pinterest boards are a little bit to-die-for. ) She made these super cute magnets (I bought the cameo ones). 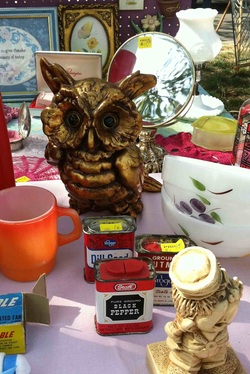 And I really, really wanted this owl she had. But the practical side of me won over: too many children running around in this house right now, and no where to put really cool things. Someday . . .
I also scored some pretty jewelry (a silver pendant with a tiny silver apple, banana, and pear), and saw a lot of other things I wanted. And I found some antique keys for my friend, Whitney, who likes to make jewelry out of them.
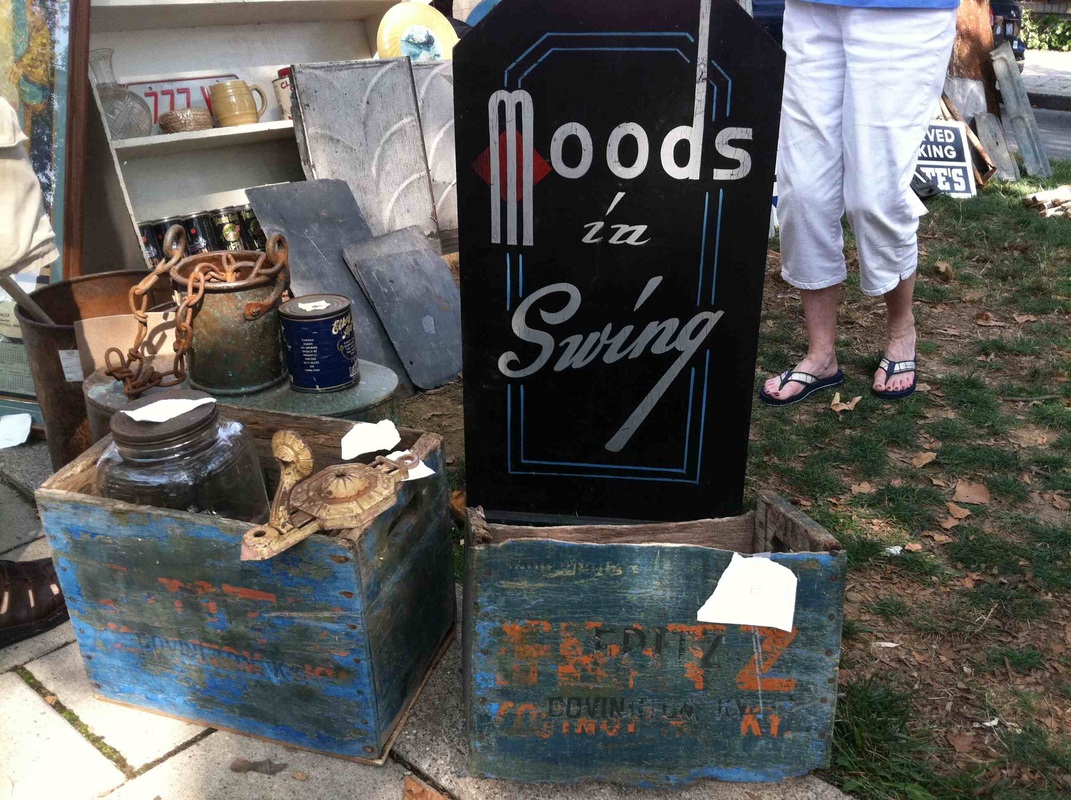
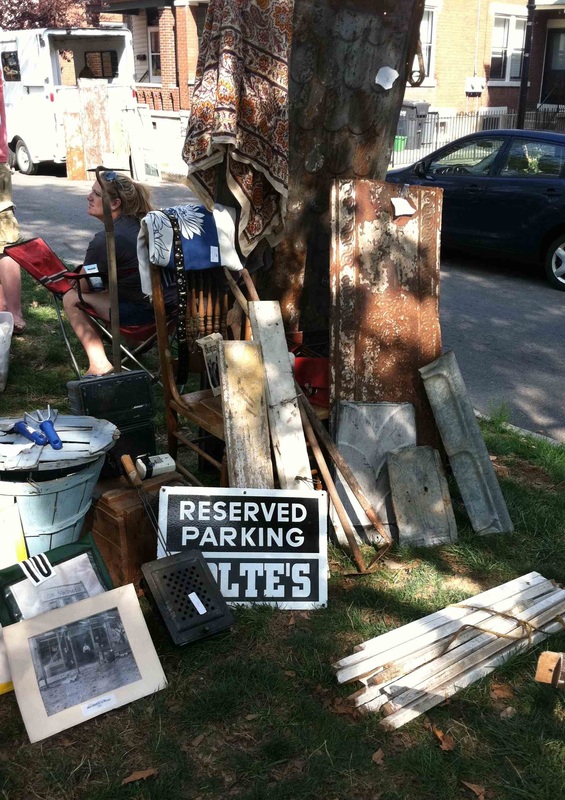
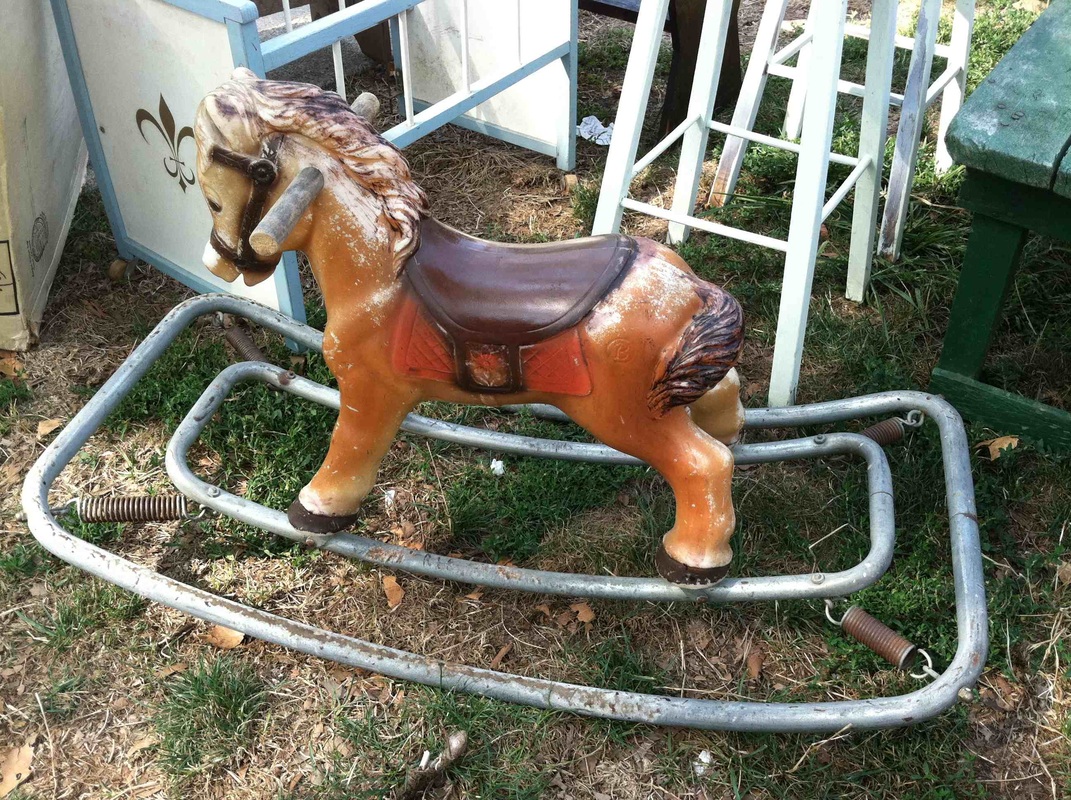
There was also a guy selling some great architectural salvage and old signs. I snagged a big piece of slate for an upcoming project. But I wished I had a reason to buy this sign! 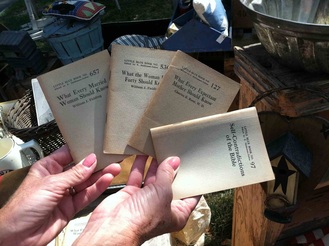 Oh, and my sister and I were cracking up looking through these books from the 1920s. (The one about birth control was the best—don’t know why I didn’t get a picture of that one!) We really wanted them. But alas, we were just feeling too practical. I hate when I’m in a practical mood at an antique show. Like I know my 2-year-old would go crazy over this horse, but I just couldn't quite do it . . .
Anyway, Lawrenceburg is this Sunday. I hope to be there!
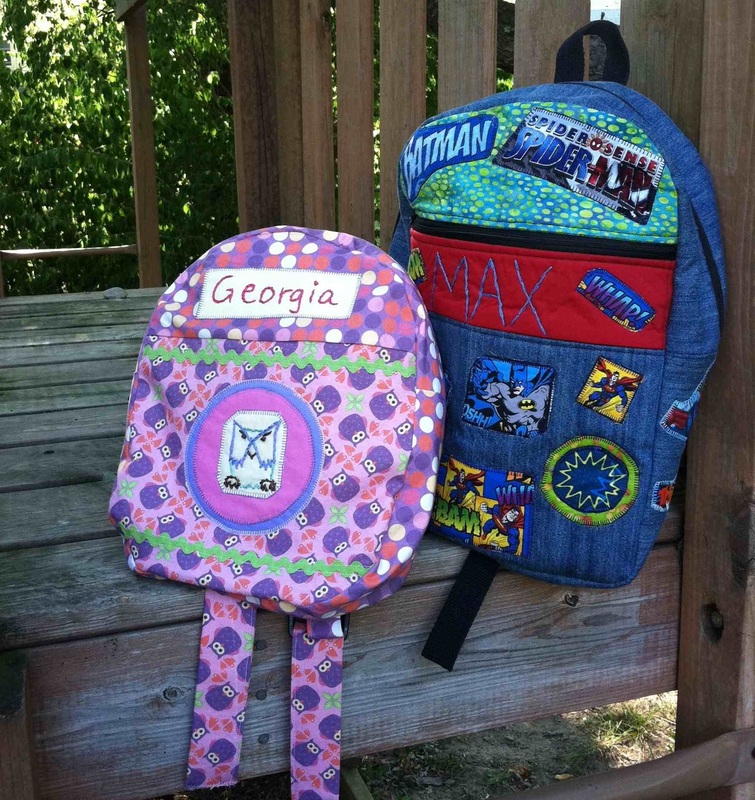
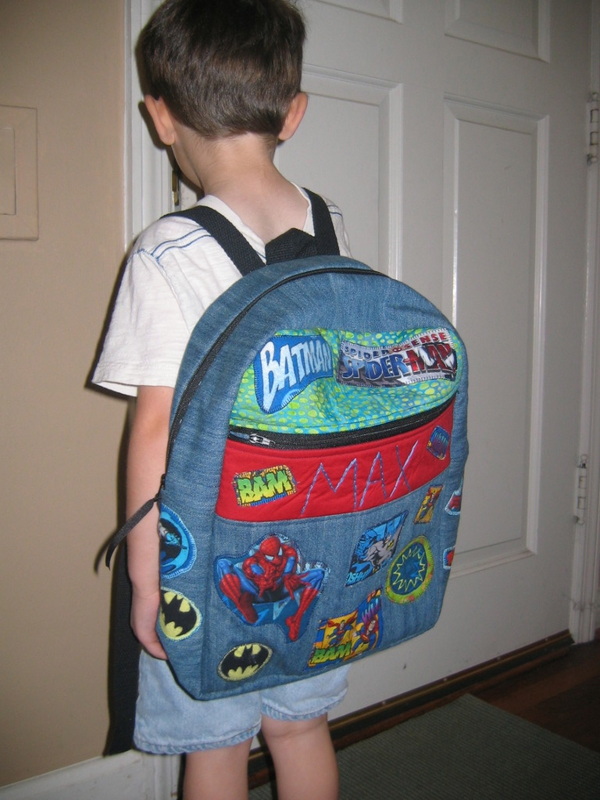
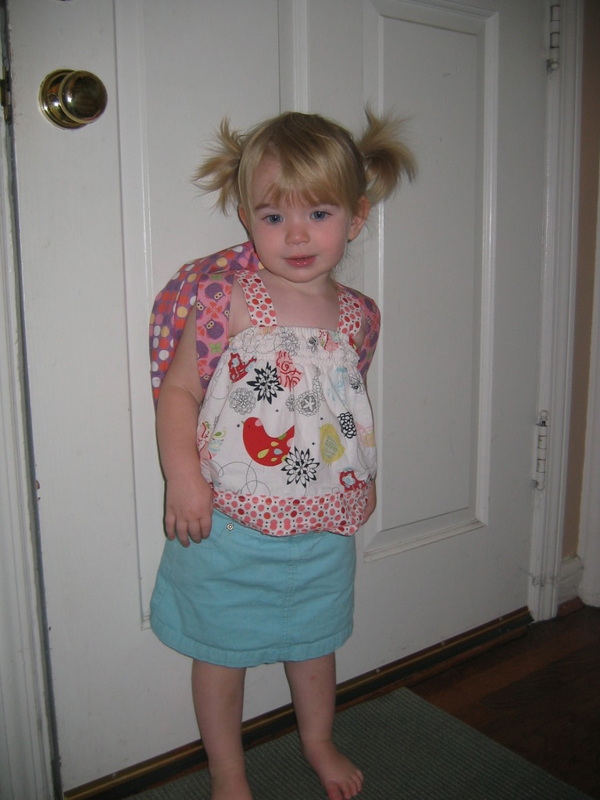
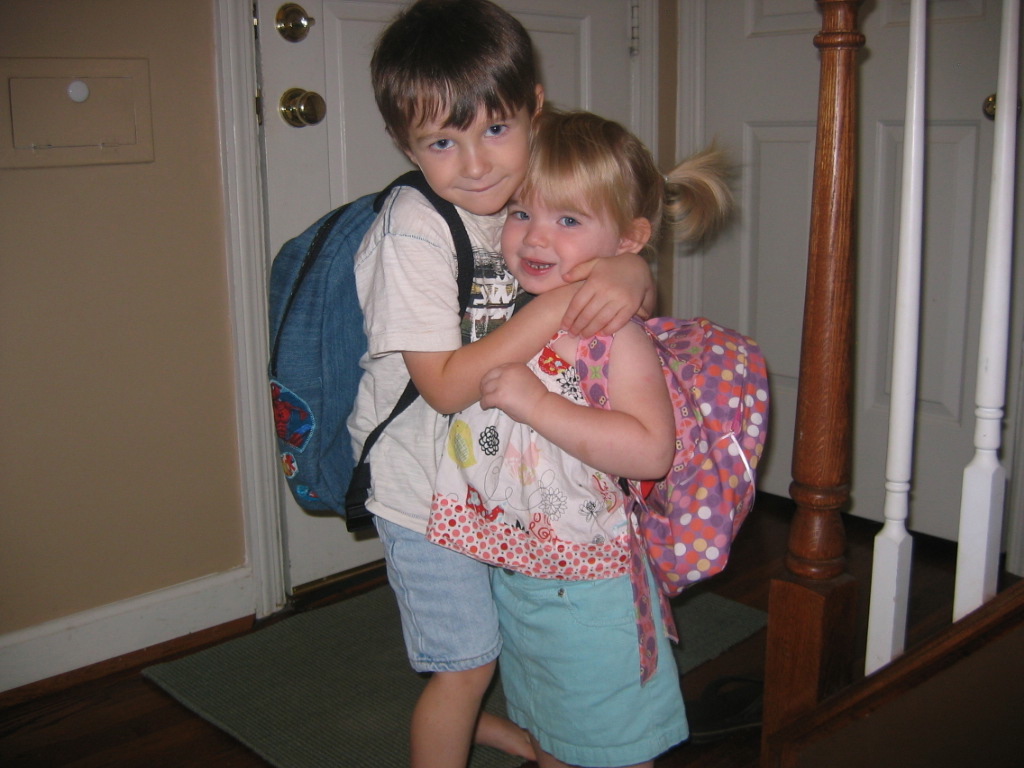
Back to school: what a sweet phrase that is! Max heads back to preschool (Pre-K, to be exact) and his little sister, Georgia, heads to a toddler program. Even though it’s been an insanely busy summer and I haven’t sewn in months, I knew that I couldn’t send the kiddos to school without some handmade decked-out backpacks. It was a great excuse for me to take the time to do some sewing again.
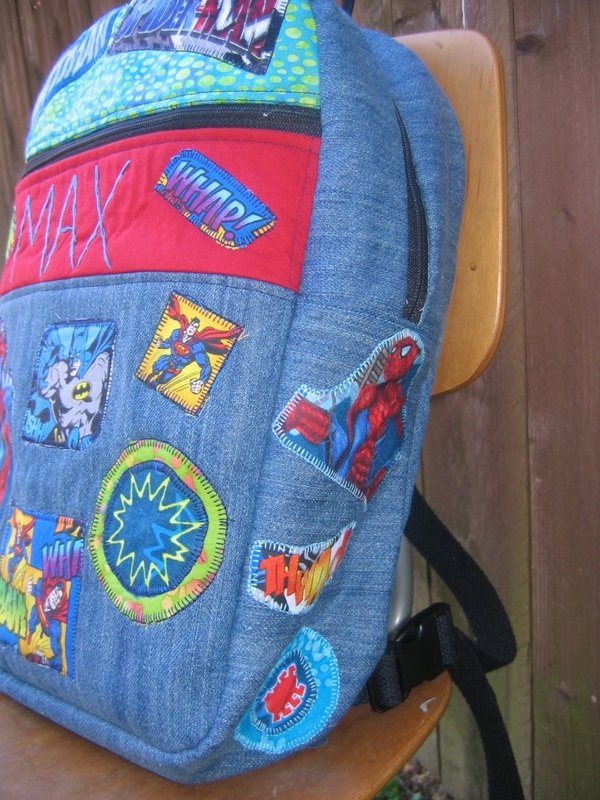
Georgia, bless her heart, has no idea that school is about to happen, or what in the world she needs with this backpack thing (she’s 2). But Max (4) had a very specific request for his back. He loved his Penguin Backpack from last year, but this year, he was ready for something a bit more grown up. And he knew exactly what. “I want Batman on one side, and Spiderman on the other. And mama, Superman too, if you can fit him.” No problem, kiddo!
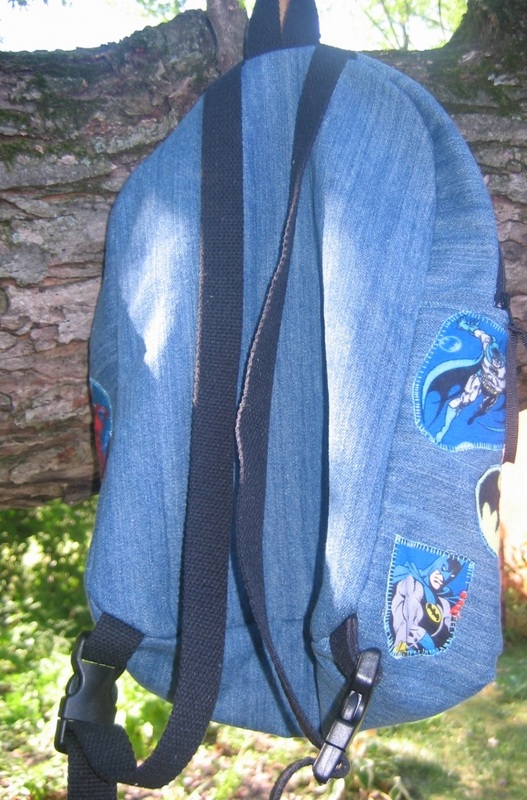
Now, all summer long, my husband had been taunting me with back-to-school ads that show various superhero backpacks. “You could just buy one and be done now . . .,” he kept saying. As if. Do you even know me, dude? For Max, it took a while to find the right pattern (the toddler and preschool backpack tutorials I kept finding all looked too small). I actually wound up using Simplicity 1823. It’s quite girly looking on the pattern envelope, but I knew that I could boy it up with a superhero theme. I found some Spiderman, Superman, and Batman fabrics at Jo-Ann’s, and cut out various images to make appliques. For the main body of the backpack, I decided to use a basic denim, since I wanted it to be able to take some wear and tear (and I figured it would look good with the superhero red, white, and blue palette). I lined it with an inexpensive light blue cotton. 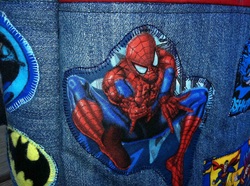 The pattern is a really good one actually: it’s very sturdy (lined, with both a layer of interfacing, and a layer of fleece). I’d say it’s a lot of sewing—not hard or complicated. Just a fair amount of seaming things together (although I was doing a bunch of appliques, so it probably felt like more sewing than it was).
I will say that there is one mistake in the pattern: it never tells you to cut out a lining piece for the front. But once I went to put the lining together, I realized I had only cut one for the back, as directed. So, I just used the back piece to cut out one for the front (the finished front is exactly the same as the back). No big deal.
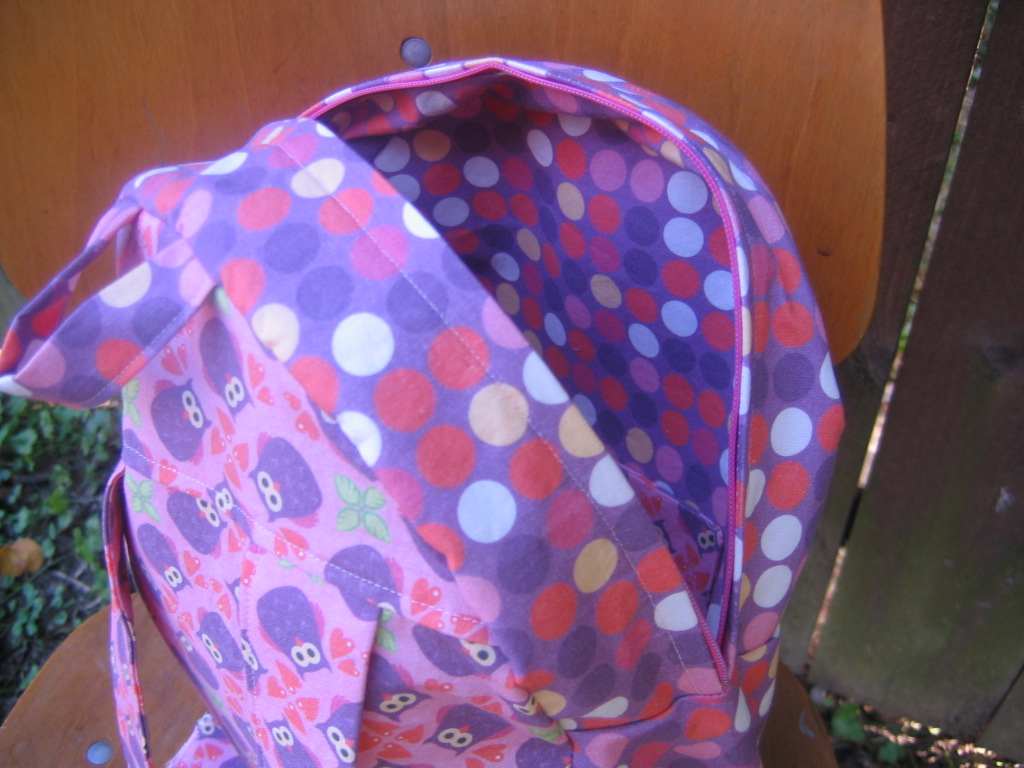
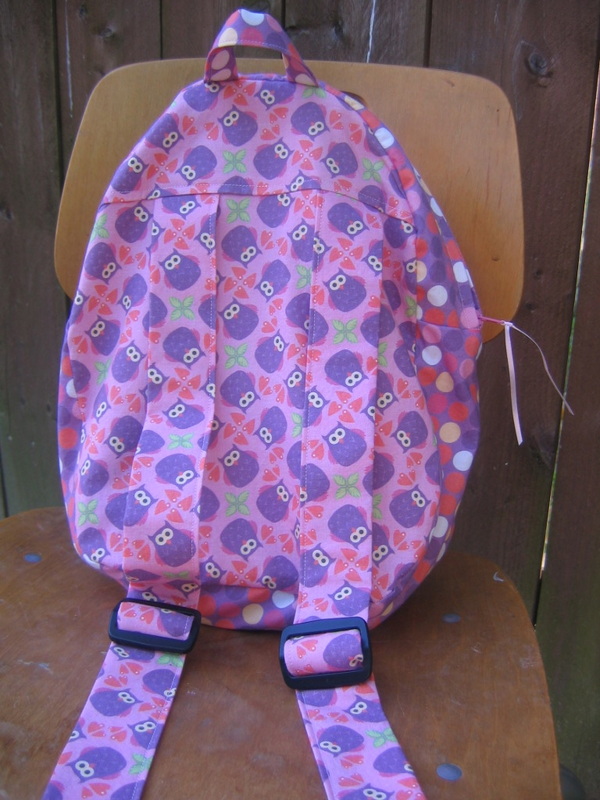
I think the appliques turned out great, and I personalized it with his name. There may be other Maxes, and there may be other superhero backpacks, but there will be no other boys named Max with this superhero backpack.  As for Georgia, I decided to go back to the wonderful Oliver + S pattern I used last year to make the Penguin Backpack (from the book Little Things to Sew). It’s smaller, but since she won’t have a homework folder or large art projects, it’s perfect. Instead of the penguin, I kept it simple, and did an owl motif. I found this fabric on Spoonflower, designed by Hamburgerliebe. I used an owl embroidery transfer from Sublime Stitching, and made a 3-layer applique, using some pink and purple solids I already had. A little rickrack, and the whole thing popped. And of course, I personalized it by appliqueing her name, too.
I highly recommend both patterns, even for beginners. I really like the way the Oliver + S pattern has you attach the lining (I wish I had used that technique to attach the lining of the superhero backpack, because it took a lot of pressing and a little tacking to get the lining to fit snugly). Don’t let the zippers scare you in either pattern. It’s really quite easy and workable to put them in. As for straps, the Simplicity pattern uses parachute clips, and the Oliver + S pattern uses traditional strap adjusters (you could do either though). Sewing backpacks for the little ones got me back in the groove of sewing. I was completely burned out after a summer of demanding deadlines and zero free time. I forgot how meditative it could be to just sit and sew in the evening. So, stay tuned for more projects, tutorials, and giveaways!
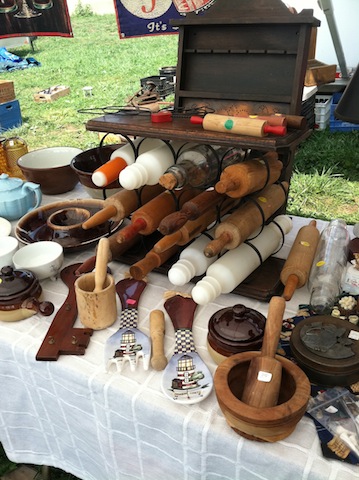
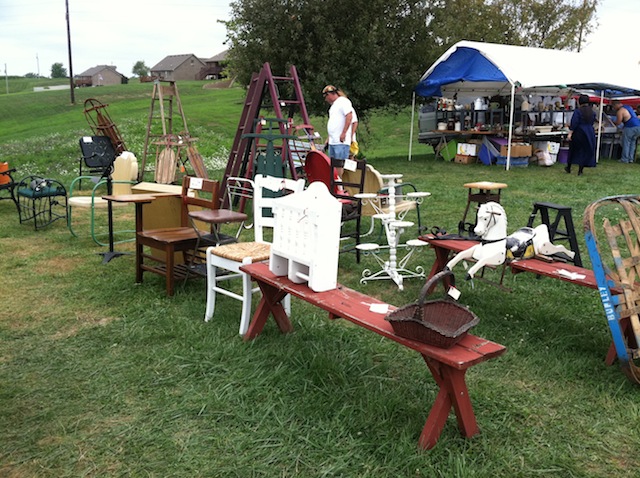
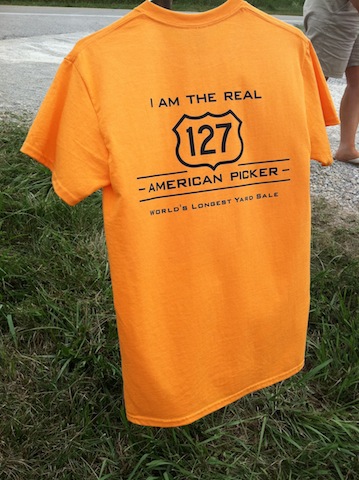
I’ve heard about the 127 Corridor Sale for years, but I’ve never gone (even though it comes right here through Cincinnati). But since I had a magazine assignment to cover a stretch of it, I finally had an excuse to check it out. And, the coolest part: I invited my two sisters and my niece to come along. So last Friday and Saturday, we scouted the stretch from Celina, Ohio to Owenton, Kentucky. We were four ladies on the open road, perusing the junk and wonderfulness that is the World’s Longest Yard Sale.  Here is what we learned:
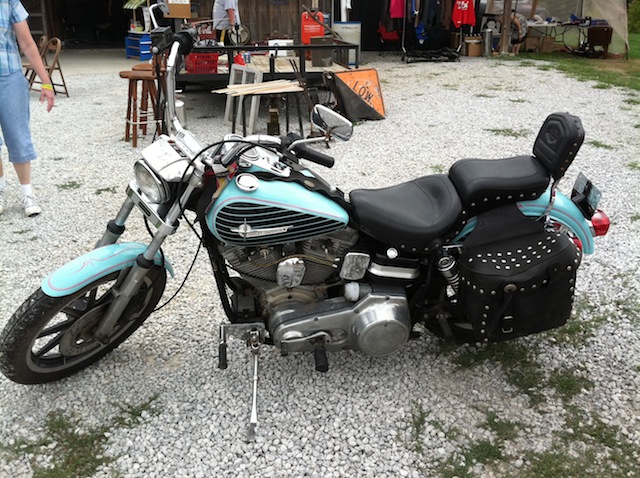
1. People will sell anything. Motorcyles. Empty Cool Whip containers. Pantyliners. Anything. A lot of it is very cool. A lot of is not.
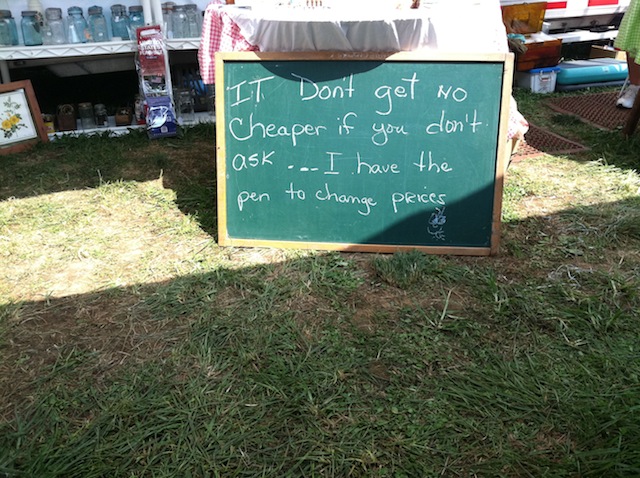
2. It’s the one time when you should absolutely drive far slower than the speed limit. If you stick to 55, you will miss most of the random kitsch. Don’t be in a hurry.
3. The more cars you see piled on the side of the road, the more you know that you should stop.
4. Don’t second-guess what you’re drawn to. If it pulls you toward it, there’s a reason. (I have two different items I regret not buying and I’m still thinking about them! I should have respected the magnetic attraction.)
5. Bring snacks. Many of the stretches are not heavily populated, and there are not a lot of restaurant options sometimes. Lots of vendors do sell water and hot dogs. But have your own stash in the car.
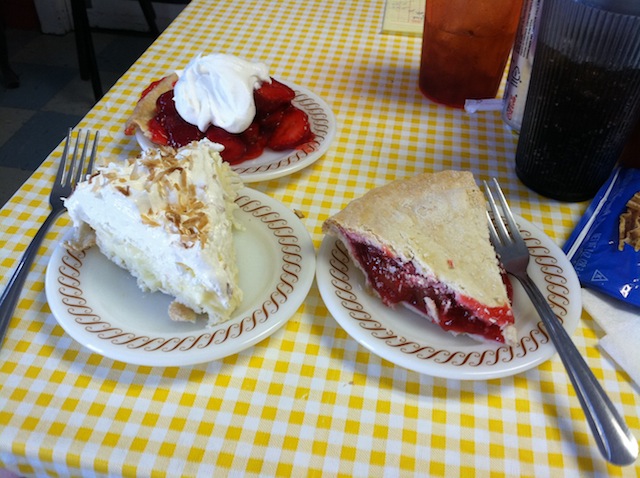
6. Keep your eyes open for all of the signs: there are lots of sales off of 127 too. Be ready for anything. Ask the locals for tips about what might be off the beaten path. 7. Anytime you see a diner advertising homemade pie, absolutely stop. 8. Practice your haggling skills. Never be afraid to make an offer. 9. Whatever you say on 127, stays on 127. Especially when one of your sisters is reading 50 Shades of Grey in the back of the car.
10. The whole thing will be way more fun if you pretend that a film crew is following you for some fabulous cable show about picking through junk.
Thanks for the memories and the loot, 127. I’ll be back next year!
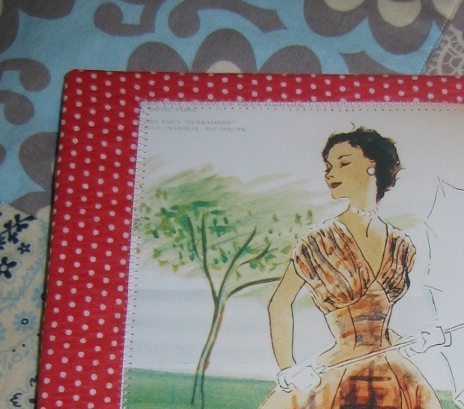
I’ve been working on a photo collage for my the wall behind my bed, incorporating all kinds of fantastic old pictures of my parents, and little pieces of vintage coolness. I knew that I wanted to incorporate some illustrations of vintage patterns with fabric, so I came up with a fun way to do it: just stitch a (paper) picture to a piece of fabric, and then use the fabric to cover a piece of blank canvas.
Super easy! 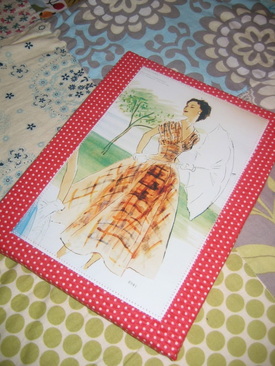 I used an illustration from Wade Laboissonniere’s book, Blueprints of Fashion. (As an aside: this is a really cool book, and I referenced it in several places in Sew Retro.) I simply cut out an illustration I liked (you could also scan, if you don’t want to cut into a perfectly good book), picked out some complementary fabric (this is a scrap of seersucker), used some double stick tape to hold the picture in place, and then carefully did a zigzag stitch all the way around.
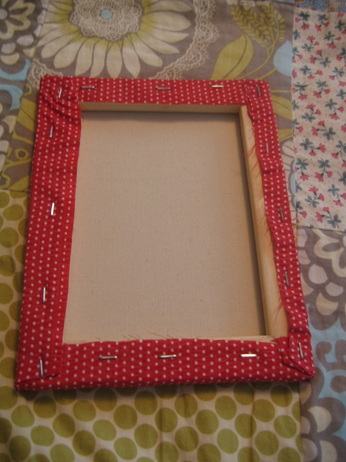
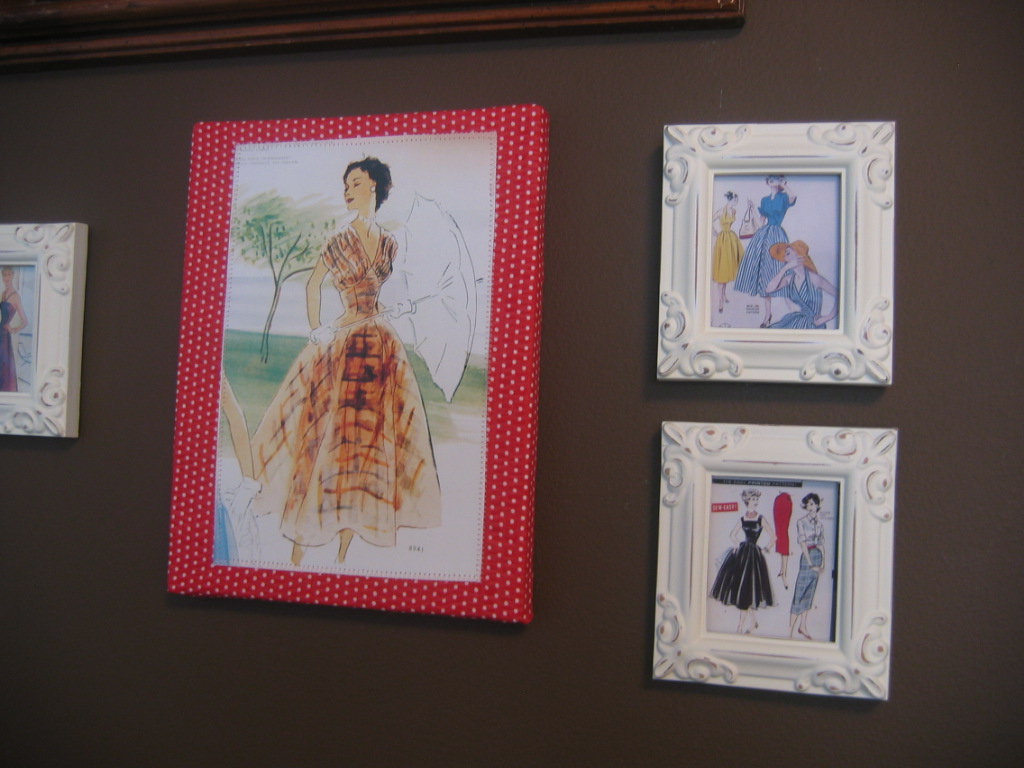
I was worried that when I pulled the fabric tight over the canvas that the stitching would pull. But it didn’t. So, when you staple the fabric over the canvas, make sure to pull it taught, and wrap your corners neatly. I love the effect, and it looks great hanging on my wall. I'm wondering how I could use this technique next . . .
|


 RSS Feed