Sew Retro
  • Home
  • Blog
  • What Are People Saying?
  • Bonus Projects
    • Ladies Who Lunch Clutch
      • Baby Bibs
        • Stitched Valentine Cards, 3 Ways
          • Blowing Bubbles Scarf
            • Toddler Apron
              • Holiday Stockings
                • Little Vintage Purse
                  • Easy-as-Pie Lined Drawstring Bag
                    • Fabric Flower Pin
                    • Tutorials
                      • How to do a blanket stitch
                        • How to make a French knot (a video)
                          • How to embroider: the split stitch (a video)
                            • Make a Clifford (or other themed) quilt
                              • How to put in a zipper
                                • How to make a gusset
                                  • How to gather
                                    • How to make a yo-yo
                                    • Project Gallery
                                    • A Sneak Peek Inside
                                    • Sew Retro: The Video
                                    • Sewing History
                                    • Press & Events
                                    • The Author
                                      • About the Author
                                        • Author Q & A
                                        • Sew Retro Errata

                                        Bonus Projects

                                        Picture
                                        Baby Bibs
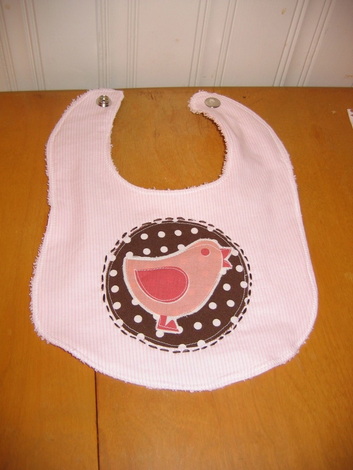
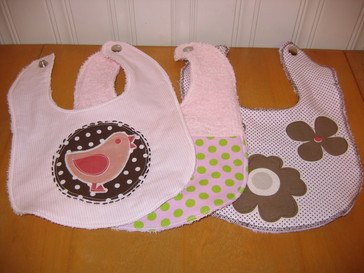
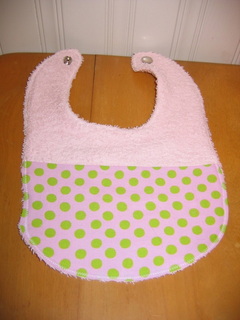
                                        There are lots of variations on this basic baby bib. You can keep it simple, do a pieced front, or add appliques or embroidery, or other embellishments like rickrack or ribbon. I prefer to use heavy duty snaps for the closure, but you could also sew on snaps or use Velcro. Use a ¼” seam allowance.
                                         
                                        What You Need:
                                        • Bib pattern template (click here to download).
                                          Scraps of cotton fabric (fat quarters work great)
                                        • 1/3 yard piece of terrycloth fabric for backing
                                        • Heavy duty snaps and heavy duty snap tools (I use Dritz)
                                         

                                        What to Cut:
                                        • Cut two of the bib template, one from the main (front) fabric and one from the lining (back fabric). Terrycloth makes a wonderful absorbent back for these bibs.
                                        • Or, if you want to piece the front, fold the template in half where indicated, and add ¼” to the edge. Make sure to add the ¼” to both the bottom part and the top part.
                                        • If you want to add appliques, cut motifs from fabric.
                                         

                                        Assemble:
                                        • If you’re making a bib that’s all one piece with no appliques, pin right sides together.
                                        • Stitch all the way around, leaving a 4-inch opening along one of the sides.
                                        • Clip the curves, and turn.
                                        • Press.
                                        • Pin layers together and take a zigzag stitch all the way around, closing up the opening (you can also take a basic straight stitch, but I prefer the look of the zigzag stitch).

                                        Picture
                                        • For pieced bib, stitch the front seam. Press open.
                                        • Follow the rest of the directions to finish.
                                        • For appliqued bib, position your appliques where you want and pin. You can either use a blanket (machine applique) stitch if you don’t want the raw edges to fray, or simply take a straight stitch about 1/8” inch away from the raw edge (I prefer this look for this particular project).
                                        • Add embroidery embellishments if you choose!
                                        • Follow the rest of the directions to finish.
                                        • To add the snaps, follow the package directions. Note that you need to use a hammer and hit the snaps with some force.

                                        Picture
                                        Picture
                                        Picture

                                                  
                                        Order from
                                        Barnes and Noble