Let's see, where did I leave off? In the middle of shopping, I think. I was actually very restrained at the show and hardly bought anything. Now, as I recount everything and review all the pics of cool stuff I took, I'm having non-buyer's remorse and wishing I would have snatched more up. I'm still thinking about those awesome vintage plastic buttons. Ah well, flea market season is just around the corner.
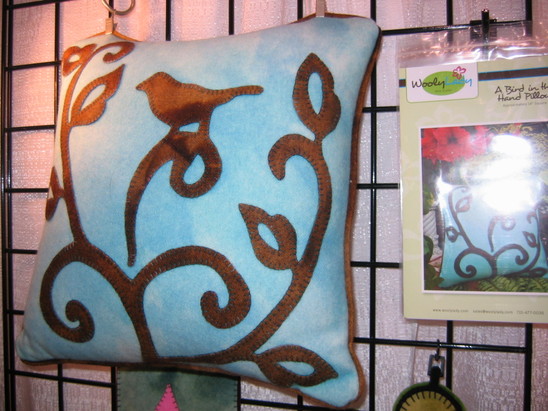
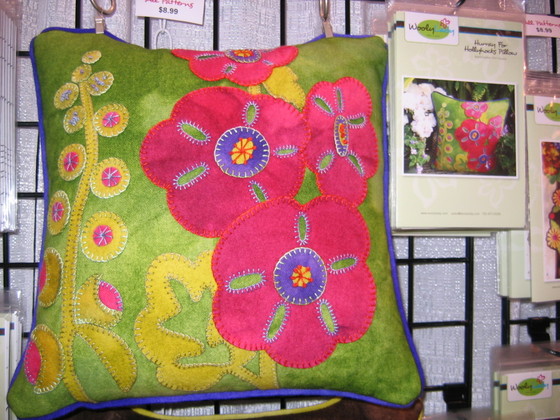
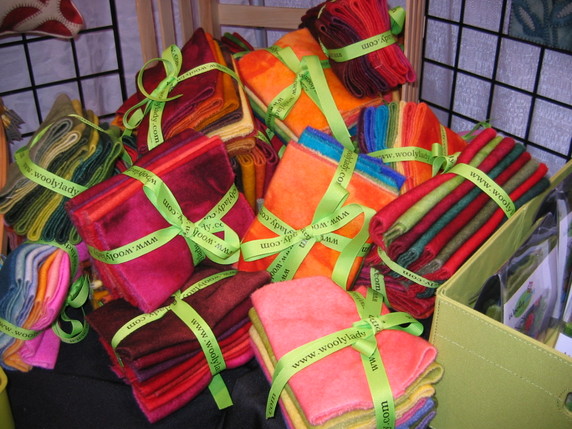
So, back to my favorite vendors. Betsy Ally/Charmography had a really awesome booth. The Betsy Ally bags were so pretty. These broaches from Charmography were so lovely, and the cupcake display was genius. 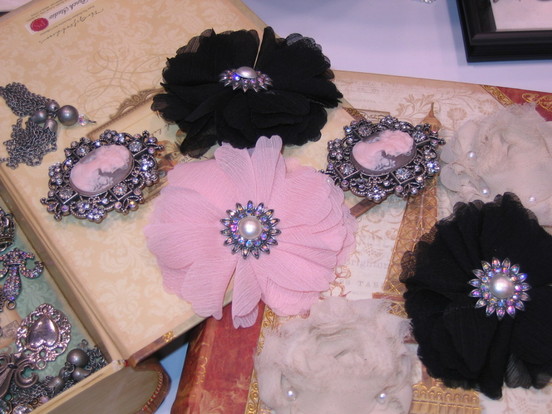 Why didn't I buy one of these adorable broaches? Sigh. 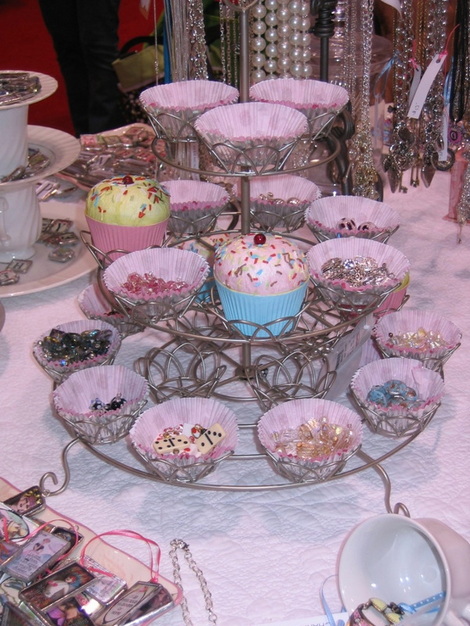 Cupcakes are the new best marketing strategy for pretty much anything and everything. Have I mentioned the fabulous wool yet? Two that caught my eye were Woolylady and Handbehg Felts. These pillows from Woolylady are little jewels. I want that bird pillow bad! Luckily kits are available on her site, too, right here.
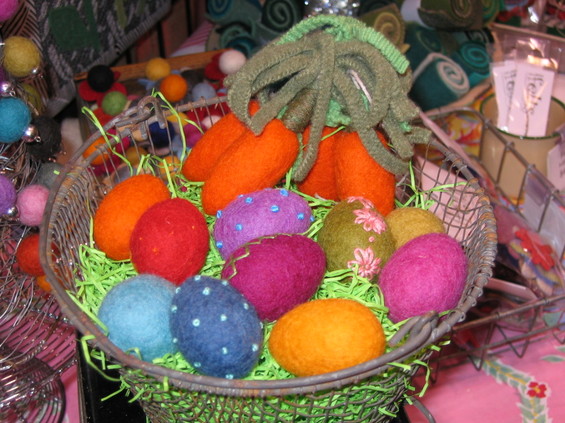
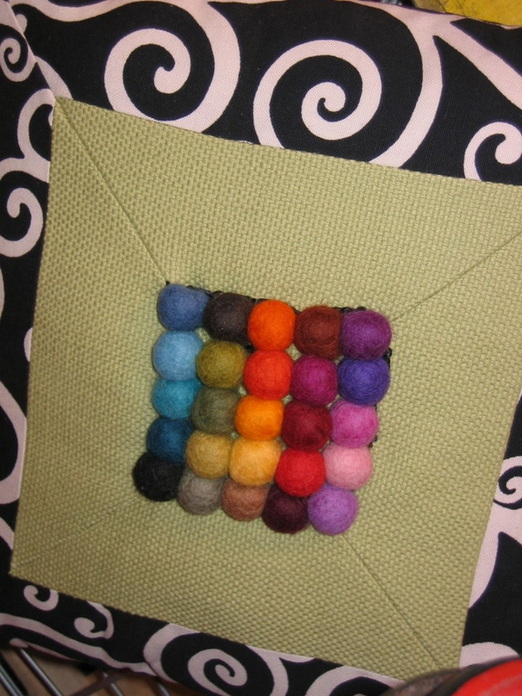
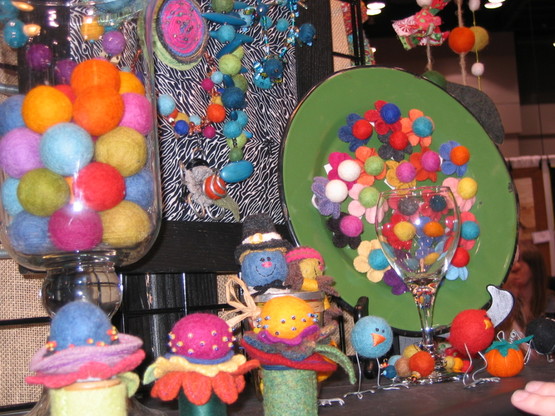
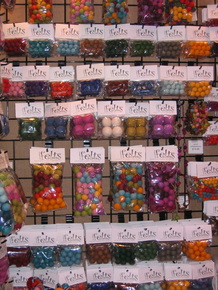 The felted balls at Handbehg Felts made me absolutely giddy. It’s amazing what you can do with these little hand-felted wool balls they sell (their tagline is “a project waiting to happen”—which really is perfect). They sell them in various sizes and colors, and you can re-shape them according to what you're making. They also sell kits. How adorable are these Easter eggs? And the pillow would look pretty great on my couch.
I’ll leave you with a few more of my favorite images. Up next, the quilts on display!  Pattern by Johna Lee Burk from the Scrappy Apple Yard 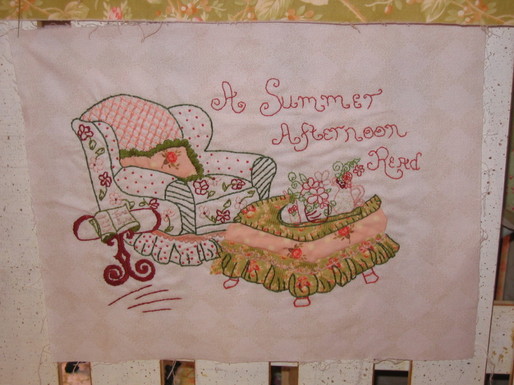 Also from the Scrappy Apple, I think (can't find a listing for that booth either though)
Want something different this year? Here are three quick ideas for Valentine’s Day cards!
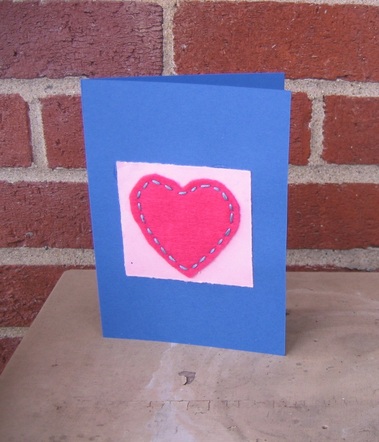
#1: Stitched Felt Heart Card
This is a great project for young sewers because it only uses a basic running stitch. The color combinations are endless. It’s easy, but looks very impressive.
You need:
-- Piece of felt (craft felt or wool felt)
-- Embroidery floss, pearl cotton, or yarn with stands pulled apart and needle
-- One small scrap and one card-size piece of cardstock
-- Craft glue or double-stick tape
1. Download the heart template. Use either size (I used the smaller one in the example). Cut out one heart from felt.
2. Cut a square from one piece of cardstock. Center the heart in the middle. Pin, or use a dab of glue in the middle to keep it secured to the paper while you stitch.
3. Tie a knot in the end of your embroidery floss (I used all 6 strands together), pearl cotton, or single strand of yard. Start from behind, and take a basic running stitch all the way around the edge of the heart, through the paper. Tie another knot at the end.
4. Glue (or use double-stick tape) the square of cardstock to the front of your card.
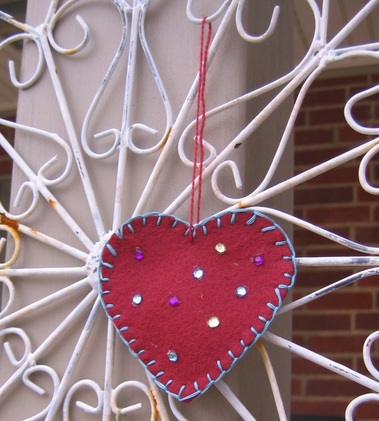
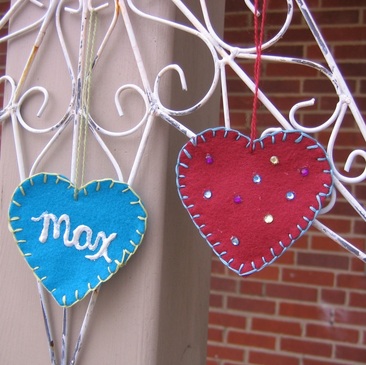
5. Write a cheeky note inside, like “You always keep me in stitches!” #2: Blanket-stitched Heart PendantWho says your Valentine has to be a paper card? Try this felt heart pendant. Use paint to write your Valentine’s name, or embellish with gemstones (keep it age appropriate, and obviously, avoid using anything that curious little ones will pull off and put in their mouths). Attaching a piece of floss or yarn means you can leave it hanging somewhere fun where your Valentine can find it, like on the bathroom mirror, coffeepot, or backpack hook You need
-- Felt
-- Embroidery floss, pearl cotton, or yarn pulled apart to single strand
-- Embroidery needle
-- Paint and/or gemstones (optional)
1. Download heart template. I used the larger size for this.
2. Cut two hearts from felt (layer so you’re cutting them at the same time). Pin them together.
3. Tie a knot in your embroidery floss, pearl cotton, or yarn. Do a blanket stitch. Don’t know how to do it? It is EXTREMELY easy. Watch my short how-to video here. Tie a knot at the end.
4. Use the same or contrasting floss, pearl cotton, or yarn to make the loop for hanging. First, tie a knot in the end of the floss. Starting from behind at the top point of the heart, pull your needle through. Create a large loop by taking another stitch back through (from behind), and then anchoring it with one more stitch. Tie a knot and clip thread ends.
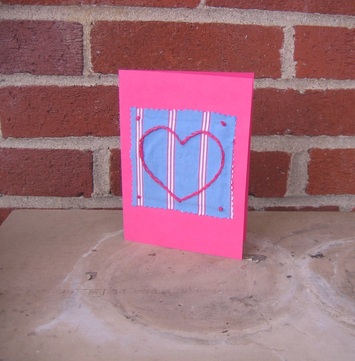
5. Embellish by painting name, attaching gemstones, etc. #3: Recycled Heart CardThis is the most involved of the three, but still not difficult. It just uses a very basic split stitch. It’s a great way to re-purpose an old shirt (this was a shirt of my husband’s). You need
--Heart template
-- Embroidery hoop
-- Scrap of fabric (or a repurposed textile) large enough to fit in hoop
-- Embroidery needle
-- Embroidery floss
-- Pinking shears
-- Blank piece of cardstock (folded into a card shape)
-- Fabric glue (I like Liquid Stitch)
-- Rhinestones (optional)
1. Trace a square (about 3-1/2 inch) in the center of your fabric. Trace the heart (the smaller heart on the heart template) in the center of the square. (Use an erasable fabric marker or a thin, non-smudgy ballpoint pen to trace.) Don’t cut anything out yet.
2. Put fabric in the embroidery hoop, and tighten hoop until fabric is taut.
3. Thread embroidery needle (I use all 6 strands together). Tie a single knot at the end of the floss.
4. Start first stitch along one of the sides of the heart (hint: don’t start on a curve). Start from the back, push needle up through fabric and pull until the knot stops the floss behind.
5. Stitch back down through the fabric, about 1/8” to 1/4” from where you came up.
6. For your next stitch, come up through the middle of your last stitch. This is called a split stitch, because you are “splitting” the pieces of floss each time. Want a visual? Watch my quick how-to video.
7. Keep stitching all the way around the heart using the split stitch. Keep your stitches uniform (1/8” to 1/4”). When you come to a curve, you have to manipulate the floss into a curved shape as you stitch.
8. When you get all the way around, run your floss under a few stitches in the back to secure and snip.
9. Optional: do French knots in each corner of the square. If you don’t know how to do a French knot, you can learn by watching my easy how-to video. Another option is to glue on some rhinestones in the corners.
10. Remove fabric from hoop. With pinking shears, cut around the square you traced. (Try to cut inside the line you traced so that the tracing isn’t visible)
11. Place a thin layer of glue on the backside of the fabric and adhere to the front of the card. You could probably also use double-stick tape.
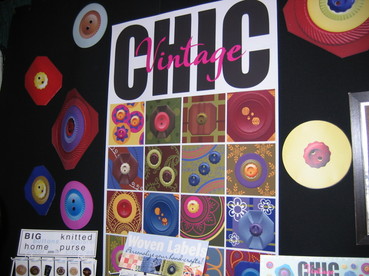
[Note: something weird is going on with the spacing. Weebly is acting strange today; I tried to fix, but can't. Apologies!] I wonder if I could pull off a dress like this? Perhaps once the last few pounds of dreaded baby weight are gone! Seriously, Iwas so in love with all of the button displays at this year’s CHA. This one isfrom Jesse James Beads. JHB had some lovely displays, too, including their new line of Vintage Chic and stacked buttons. 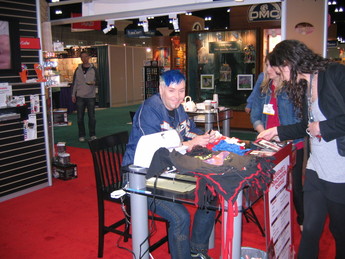 Oh, I also got to meet Suede, of Project Runway fame. He was hanging out at the Simplicity booth,talking about his new line of “Suede says” patterns he’s doing for them. Igrabbed one of the cute skirt patterns in the collection. Each pattern hasoptions for making the piece “flirty,” “edgy,” or “classic.” Suede said thathe’d be happy to do a Q&A with me, so look for that in the coming months!In the meantime, I’m going to try to figure out which description fits me. Ithink Suede needs a 4th category: “postpartum.”
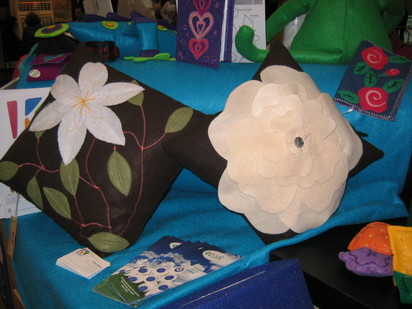
When I came back from lunch on Saturday, I enteredthrough the door right next to the Kunin Group’s booth. I was immediately drawnto the amazing felt creations, like the pillows above. What was this stuff, I wondered? Must be wool felt, I thought.  Wool felt? Think again. It's your oldest friend, polyester, but it's never looked better! It turns out, all of these lovely lovelies were madewith that basic craft felt that you find in Jo-Ann’s! I don’t know about you,but I’ve always sort of looked down on craft felt as cheap and polyester andsuitable mostly for kids’ art projects. But their display is definitely makingme take a second look. Plus, their Eco-Fi felt is nowmade from recycled plastic bottles. Yes, it’s still polyester, but they tookthe trouble to get UL certification, meaning that their products contain aminimum of 95 percent post-consumer recycled content. As George Stellmach, thenational sales and marketing manager told me, the bottles are just going to gointo a landfill—why not use them. Good point. 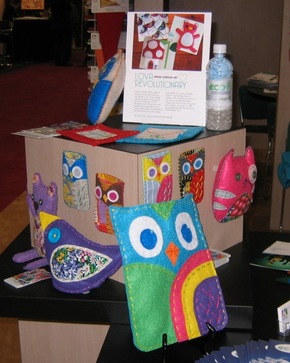 Wool felt is lovely—no one can deny that. And all thebetter if you are felting it yourself, using old wool sweaters. But thepolyester felt is a pretty good alternative, especially if you’re on a budget.
I think that about wraps up my CHA coverage. I'm still working on my post about why I've decided technology is a good thing, and I need to quit being such a scaredy-pants about it.
|


 RSS Feed