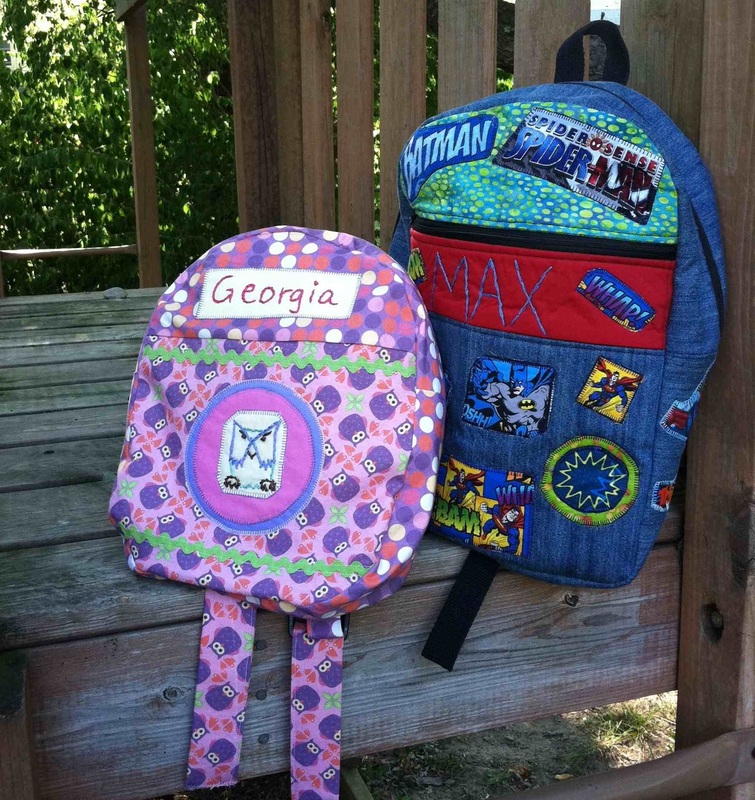
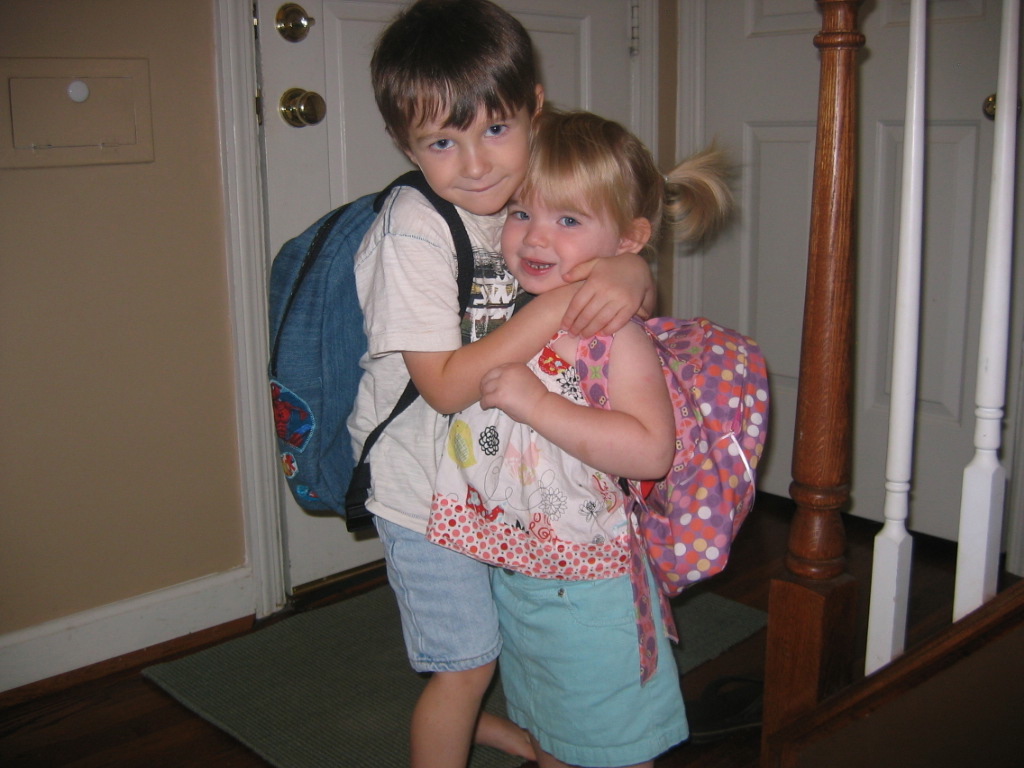
Back to school: what a sweet phrase that is! Max heads back to preschool (Pre-K, to be exact) and his little sister, Georgia, heads to a toddler program. Even though it’s been an insanely busy summer and I haven’t sewn in months, I knew that I couldn’t send the kiddos to school without some handmade decked-out backpacks. It was a great excuse for me to take the time to do some sewing again.
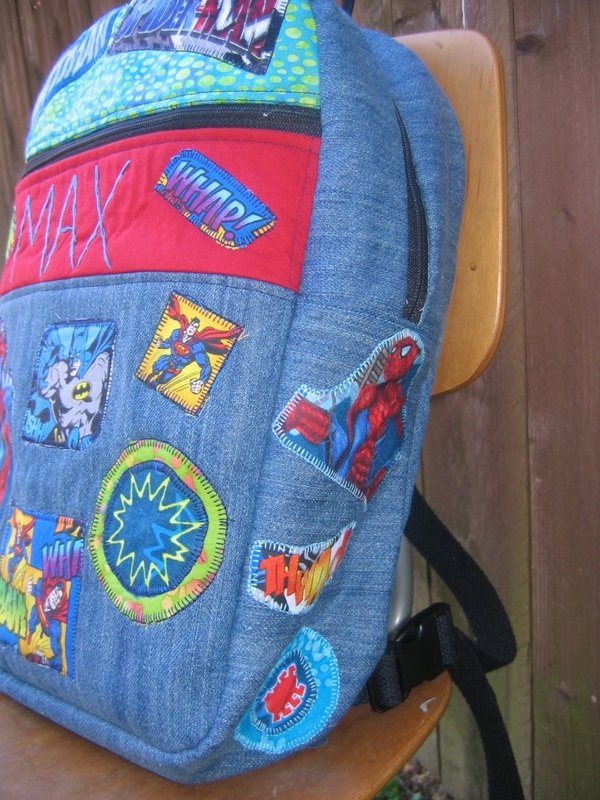
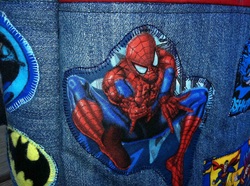
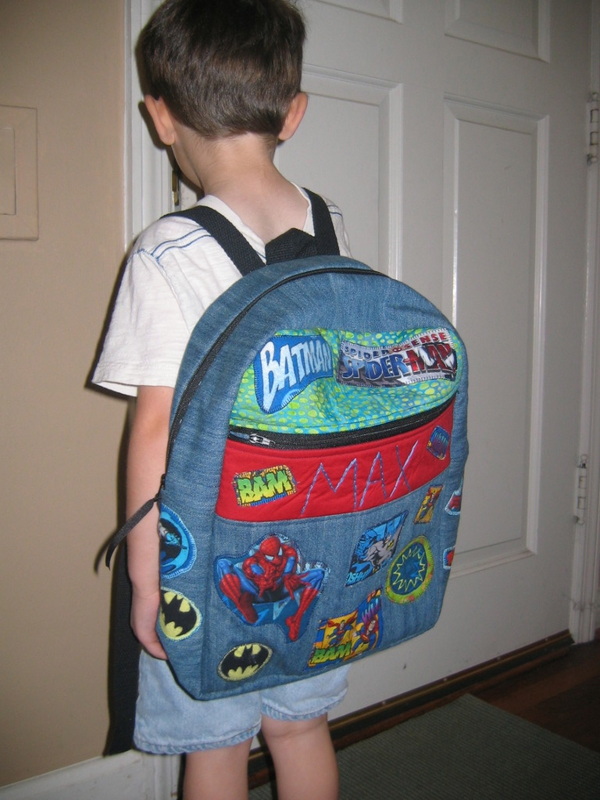
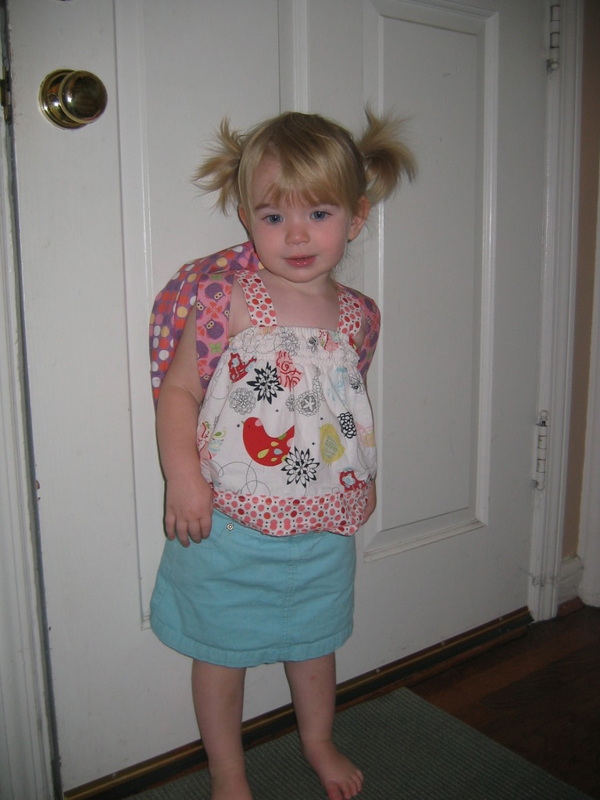
Georgia, bless her heart, has no idea that school is about to happen, or what in the world she needs with this backpack thing (she’s 2). But Max (4) had a very specific request for his back. He loved his Penguin Backpack from last year, but this year, he was ready for something a bit more grown up. And he knew exactly what. “I want Batman on one side, and Spiderman on the other. And mama, Superman too, if you can fit him.” No problem, kiddo!
Now, all summer long, my husband had been taunting me with back-to-school ads that show various superhero backpacks. “You could just buy one and be done now . . .,” he kept saying. As if. Do you even know me, dude?
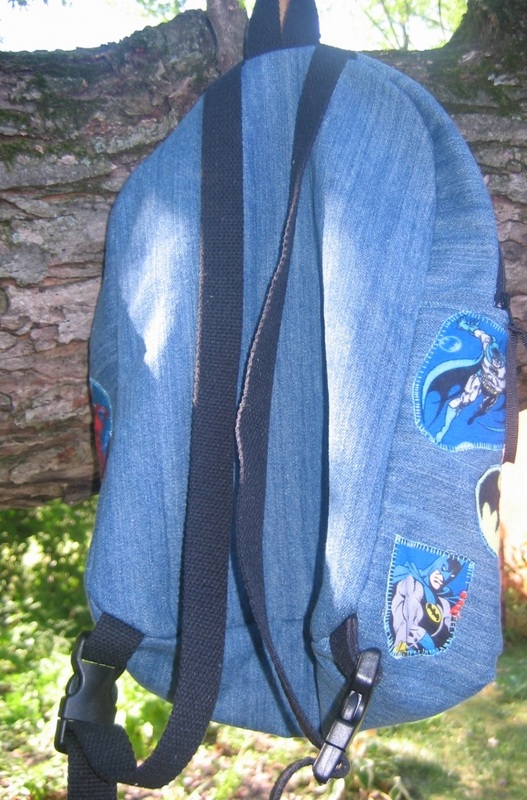
For Max, it took a while to find the right pattern (the toddler and preschool backpack tutorials I kept finding all looked too small). I actually wound up using Simplicity 1823. It’s quite girly looking on the pattern envelope, but I knew that I could boy it up with a superhero theme. I found some Spiderman, Superman, and Batman fabrics at Jo-Ann’s, and cut out various images to make appliques. For the main body of the backpack, I decided to use a basic denim, since I wanted it to be able to take some wear and tear (and I figured it would look good with the superhero red, white, and blue palette). I lined it with an inexpensive light blue cotton.
The pattern is a really good one actually: it’s very sturdy (lined, with both a layer of interfacing, and a layer of fleece). I’d say it’s a lot of sewing—not hard or complicated. Just a fair amount of seaming things together (although I was doing a bunch of appliques, so it probably felt like more sewing than it was).
I will say that there is one mistake in the pattern: it never tells you to cut out a lining piece for the front. But once I went to put the lining together, I realized I had only cut one for the back, as directed. So, I just used the back piece to cut out one for the front (the finished front is exactly the same as the back). No big deal.
I think the appliques turned out great, and I personalized it with his name. There may be other Maxes, and there may be other superhero backpacks, but there will be no other boys named Max with this superhero backpack.
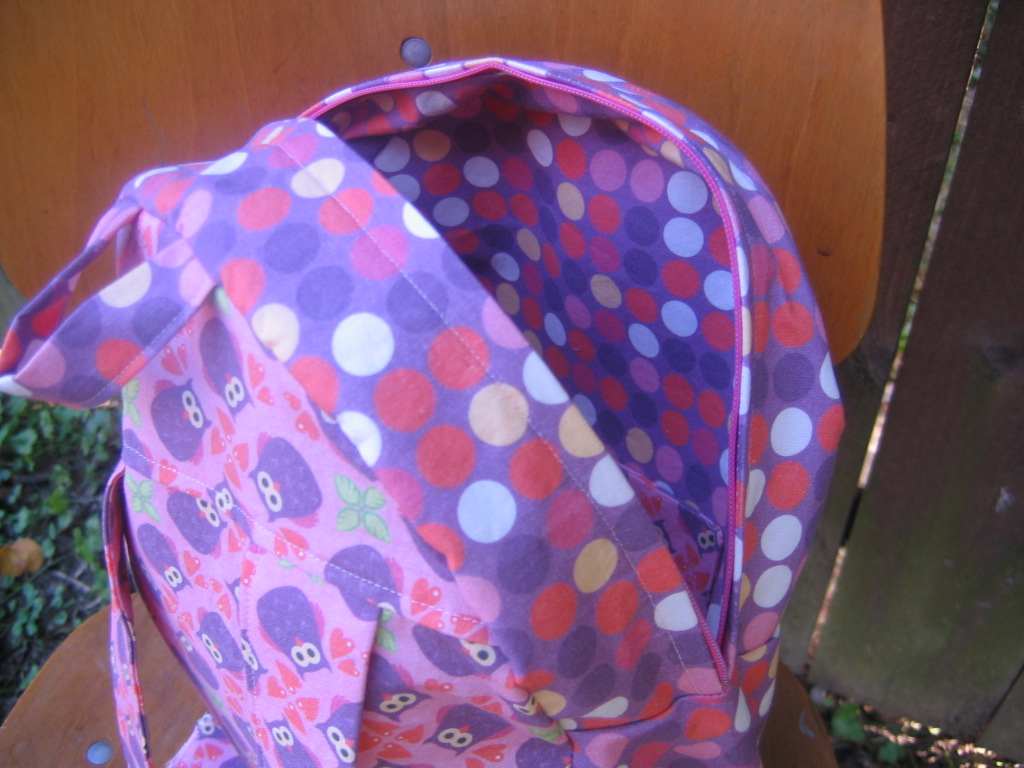
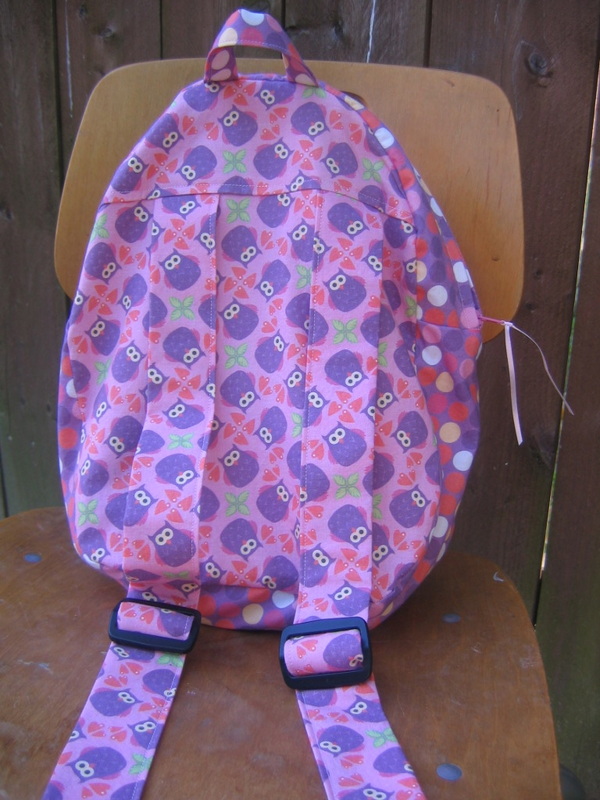
As for Georgia, I decided to go back to the wonderful Oliver + S pattern I used last year to make the Penguin Backpack (from the book Little Things to Sew). It’s smaller, but since she won’t have a homework folder or large art projects, it’s perfect. Instead of the penguin, I kept it simple, and did an owl motif. I found this fabric on Spoonflower, designed by Hamburgerliebe. I used an owl embroidery transfer from Sublime Stitching, and made a 3-layer applique, using some pink and purple solids I already had. A little rickrack, and the whole thing popped. And of course, I personalized it by appliqueing her name, too.
I highly recommend both patterns, even for beginners. I really like the way the Oliver + S pattern has you attach the lining (I wish I had used that technique to attach the lining of the superhero backpack, because it took a lot of pressing and a little tacking to get the lining to fit snugly). Don’t let the zippers scare you in either pattern. It’s really quite easy and workable to put them in. As for straps, the Simplicity pattern uses parachute clips, and the Oliver + S pattern uses traditional strap adjusters (you could do either though).
Sewing backpacks for the little ones got me back in the groove of sewing. I was completely burned out after a summer of demanding deadlines and zero free time. I forgot how meditative it could be to just sit and sew in the evening. So, stay tuned for more projects, tutorials, and giveaways!
Quick addition to this post: 365 Days of Sewing is now running a giveaway of Sew Retro! Go here to enter the contest and read an interview with me.
Anyway, back to the original post . . .
Max’s toddler program wrapped up last week, and now he is off to summer camp (at the same school) this week. It’s just three days a week from 9 – 12, but any chance we have to get the kid outside and running around is welcome. He goes for two other weeks during the summer. Not enough, as far as I’m concerned. But my checkbook had the final say.
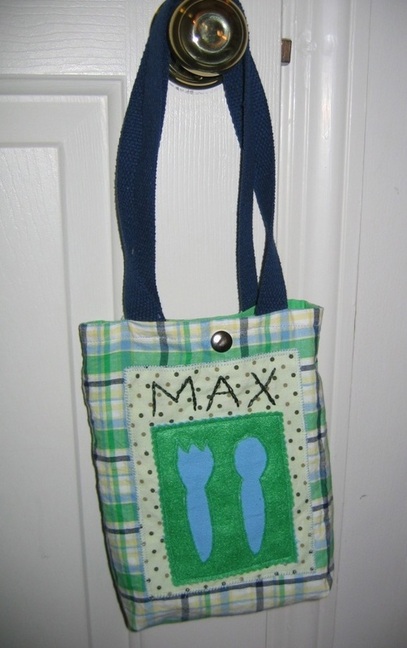
Since the camp includes packing a lunch for the kiddos, I figured it was time that Max had his own lunch bag.
So of course, it seemed brilliant to embroider his name right on it so there’s no worry about mixing up lunch bags!
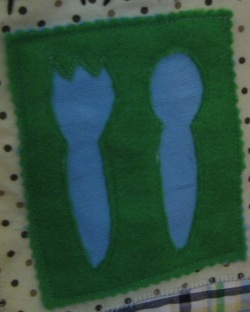
I also wanted to try the reverse applique technique on a small scale. I used a pattern from 100 Applique Motifs, but did the more traditional method of reverse applique—where you stitch on the backside of the fabric you want to show, and then flip it over and cut very close to the stitching on the fabric that’s in front of the motif. I’ve dabbled in this, but never done a project using this method. I love it, because it feels a little magical, like a slow unveiling of something. I used craft felt since I wanted a clean edge versus the frayed look I often gravitate toward.
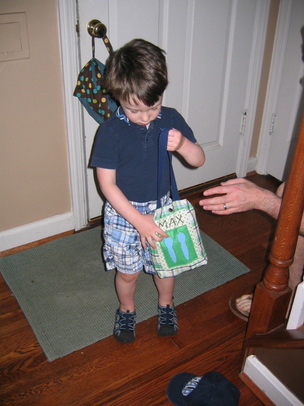
It’s a super simple shape: I just cut front and back pieces, and then front and back lining pieces, at about 9 inches by 12 inches. I sewed up the sides and bottom of bag and lining, and made about a 1.25-inch gusset in each. I used the method where you insert the lining (turned right-side out) into the bag (turned wrong-side out, so right sides are together) and then sandwiched the handles in the seam. Then I sewed the top edges together, leaving about a 3-inch opening at the top for turning. Finishing is quick: Turn it, press it, slip-stitch the opening closed, top-stitch (if you want), and add a snap fastener (or sew on a snap or use Velcro). However, I realize now that I should have made the handles shorter (so the bag isn’t dragging the ground if he carries it).
I would love to see a dozen or so two- and three-year olds sitting around a table, pulling out goodies from their lunch bags and eating lunch. Actually, I’m 100 percent sure that I wouldn’t be able to handle such a scene. But I am thankful that there are wonderful summer camp teachers out there who are excellent at wrangling children and their yogurt-smeared faces and sticky hands.
Yay for homemade lunch bags, wonderful teachers, and summer treats!
We’re transitioning (albeit slowly) into a culture of re-purposing, which is really pretty awesome. Like everyone else, I’m trying to find my way and see the creativity and possibility in the things I used to just throw away or donate.
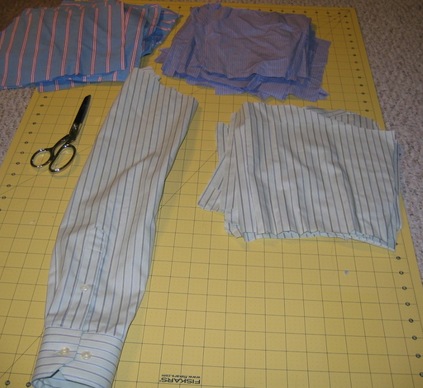
That’s what led me to grab a bunch of shirts my husband was getting ready to give away. Before, I would have just piled more stuff into the giveaway bag. But instead, I realized that these weren’t just old shirts. They were fabric! Sorta fabulous fabric, actually (I’m a sucker for prim-looking pin stripes). There was definitely possibility, I just wasn’t sure yet. The first thing I did was to cut them up for a make-and-take I did at this year’s CHA (embroidered hearts for Valentine’s Day cards--see the tutorial here!
That was fun, but I still had an awful lot left, including all of the button fronts and sleeve cuffs I’d cut open.
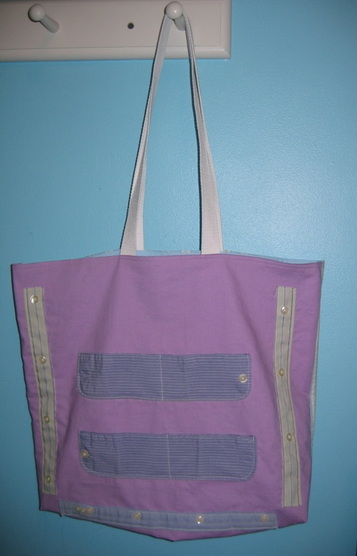
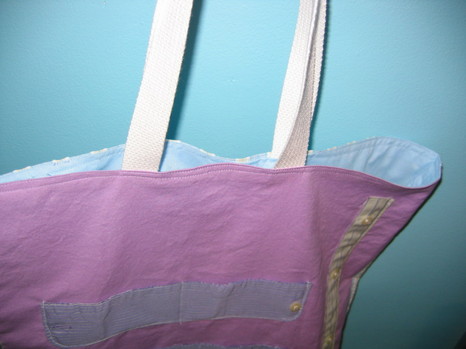
I was playing around with the leftover pieces, and I started to arrange them onto a solid lilac fat quarter (another little piece of happiness that was part of a fat quarter stack I ordered from Anna Maria). And that’s how I wound up with this fun tote!
The specs:
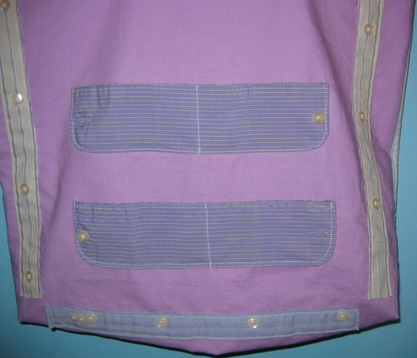
Easy! I cut the fat quarter to be about 19” wide by 16-1/2” high, and I pressed the top edges down 1/2”. Next, I added my menswear trimmings. The two pockets are made from sleeve cuffs, cut open, and the strips on either side and on the bottom are made from the button-front of the shirt. I just took a basic straight stitch (by machine) all the way around each piece, as close to the edge as I could get. Raw edges only add to the charm of this, as far as I’m concerned. I also left all the buttons on, just because it looks cooler that way! I did take a row of stitching down the center of each cuff pocket, to make the pockets a little more functional (you could also add Velcro or a snap if you wanted the pockets to close).
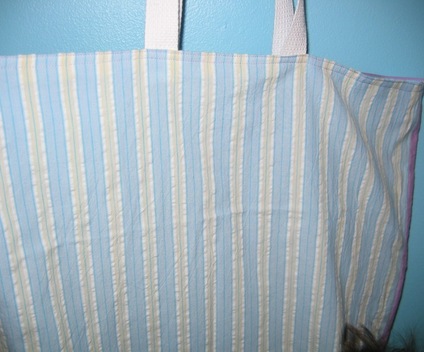
For the back, I used seersucker leftover from the “magic” quilt I made for my bed, (which I’ve written about on AOL’s ParentDish, right here) I stitched bag front to bag back, and then made 1-1/2” gussets on either side (click here for a gusset tutorial).
The seersucker back. Note the wild tuft of hair at the bottom right (Max insisted on standing right there as I took the picture).
I lined it with a light blue cotton I had on hand, just cutting the lining pieces to the same dimensions as the bag and assembling in the same way, including pressing the top sides down 1/2”. That way, when you insert the lining into the bag (you turn the bag, but don’t turn the lining), the pressed edges on both the bag and lining line up. Sandwich your handles in between the layers, and then stitch all the way around to close up the top, right next to the folded edges, and then again about 1/4” away. (After the fact, I wish I had lined it with fusible fleece, which is what I often do, since it adds body. Ah well.)
I made this bag for a friend of mine, to thank her for passing on a valuable writing lead. You know who you are, my dear friend, and thank you!
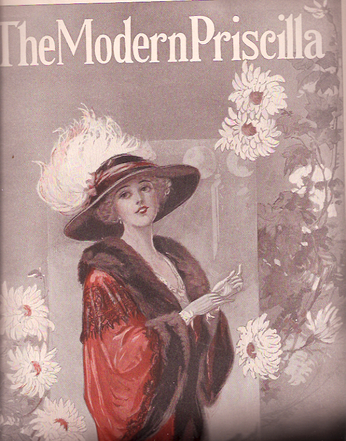
One of my favorite things to do when I need some inspiration for a designing a new project is looking through old women’s magazines. I have a stack of Needlecraft magazines from the 1920s and 1930s, as well a bunch of Modern Priscilla magazines from the teens. If you’re interested, old magazines like this are fairly easy to find on eBay. I’ve collected most of mine at vintage markets (I can usually buy them for $2 to $5 each).
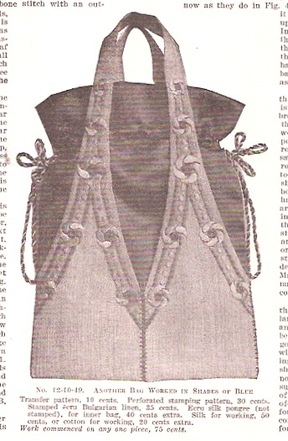
Anyway, I’ve been looking for ideas for holiday gift sewing, and I came across this lovely idea for a purse from the October 1912 issue of Modern Priscilla. It’s from a story about embellishing with needlework; I can’t replicate handwork as lovely and intricate as this, but I love the overall structure of this purse: handles that wrap around the whole front of the body and provide a skeleton of support for the purse. I’m hoping to create a pattern for it, and then I’ll post it in the Bonus Projects section.
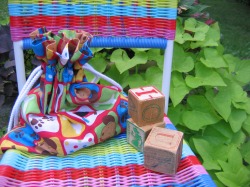
A few weeks ago, I came across some fabulous vintage wood blocks at the Burlington Antique Show. I knew they’d be perfect for my Max, who is in a major block-stacking phase, so I bought a dozen and stashed them away for his birthday. As his 2-year birthday (which was yesterday!) drew closer and I started wrapping presents, I realized that what I really needed was a little drawstring bag to put them in, so they didn’t wind up scattered everywhere. Finding the fabric was easy (puppies!). But it took me a while to remember how to make a drawstring bag, where the drawstring cinches up from each side. I knew I had made one in home ec many years ago. But to actually figure out where to put the buttonholes and how to thread the cording, I had to scrutinize a little drawstring jewelry pouch of mine. I discovered that it’s actually super easy to make a basic drawstring bag!
The puppy one I made isn’t lined (it is just for blocks, after all), so I had to fold the top down to create a casing. No problem.
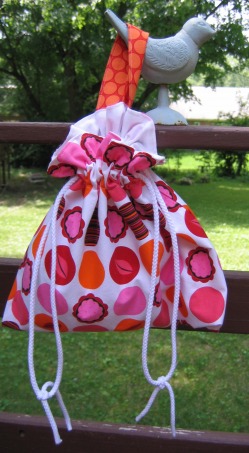
But as I’ve been prepping for the big CHA Craft Supershow this week, I realized that having another drawstring bag—one to store some of my make-and-take supplies in—would be great. But this one needed to be lined (and not have puppies on it). I discovered that the cool thing about lining it is that you don’t even have to fold the fabric down to create a casing—the layers of fabric automatically create a space for your drawstring. I also decided to add a little tab for hanging the bag up (so that I don’t have to hang by the cording). I love my drawstring bags so much, I might just switch to all-drawstring, all-the-time! I’d really like to incorporate some vintage elements, like handkerchiefs (like I’m thinking of using a handkerchief to make a mini drawstring bag to hold my iPod when it’s not on my armband).
I’m working on writing the directions to make this a bonus project on the site. That’s coming soon!


 RSS Feed