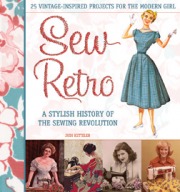
Quick addition to this post: 365 Days of Sewing is now running a giveaway of Sew Retro! Go here to enter the contest and read an interview with me.Anyway, back to the original post . . .Max’s toddler program wrapped up last week, and now he is off to summer camp (at the same school) this week. It’s just three days a week from 9 – 12, but any chance we have to get the kid outside and running around is welcome. He goes for two other weeks during the summer. Not enough, as far as I’m concerned. But my checkbook had the final say.
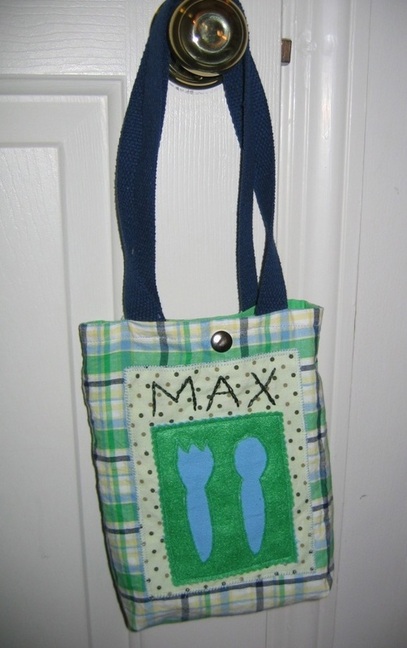
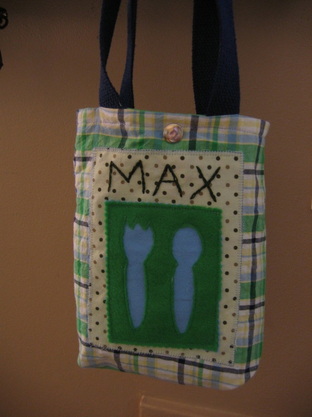
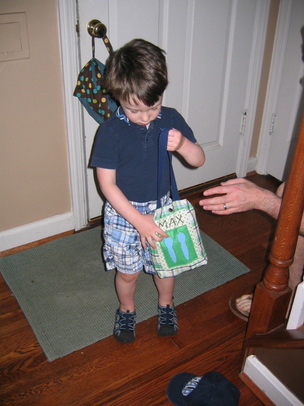
Since the camp includes packing a lunch for the kiddos, I figured it was time that Max had his own lunch bag. So of course, it seemed brilliant to embroider his name right on it so there’s no worry about mixing up lunch bags!
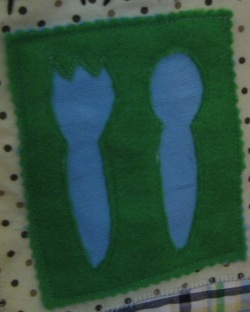
I also wanted to try the reverse applique technique on a small scale. I used a pattern from 100 Applique Motifs, but did the more traditional method of reverse applique—where you stitch on the backside of the fabric you want to show, and then flip it over and cut very close to the stitching on the fabric that’s in front of the motif. I’ve dabbled in this, but never done a project using this method. I love it, because it feels a little magical, like a slow unveiling of something. I used craft felt since I wanted a clean edge versus the frayed look I often gravitate toward.
It’s a super simple shape: I just cut front and back pieces, and then front and back lining pieces, at about 9 inches by 12 inches. I sewed up the sides and bottom of bag and lining, and made about a 1.25-inch gusset in each. I used the method where you insert the lining (turned right-side out) into the bag (turned wrong-side out, so right sides are together) and then sandwiched the handles in the seam. Then I sewed the top edges together, leaving about a 3-inch opening at the top for turning. Finishing is quick: Turn it, press it, slip-stitch the opening closed, top-stitch (if you want), and add a snap fastener (or sew on a snap or use Velcro). However, I realize now that I should have made the handles shorter (so the bag isn’t dragging the ground if he carries it).
I would love to see a dozen or so two- and three-year olds sitting around a table, pulling out goodies from their lunch bags and eating lunch. Actually, I’m 100 percent sure that I wouldn’t be able to handle such a scene. But I am thankful that there are wonderful summer camp teachers out there who are excellent at wrangling children and their yogurt-smeared faces and sticky hands.
Yay for homemade lunch bags, wonderful teachers, and summer treats!


 RSS Feed